Getting into nail art can feel a little intimidating at first—so many colors, brushes, and designs! But the truth is, you don’t need to be a pro to create cute and creative nails at home. If you’re just starting out, having a few key tools and learning some simple techniques can make the whole experience way easier (and way more fun).
So if you’re a total beginner wondering where to start, this post is for you! Let’s talk about the must-have nail art tools and a few basic nail art techniques you can try right away.
5 Must-Have Nail Art Tools for Beginners
Here are the essentials that will help you build a solid beginner nail kit. No fancy stuff—just the basics that actually work.
1. Dotting Tools
These are super versatile and perfect for making polka dots, tiny flowers, or even hearts. They usually come in sets with different tip sizes, so you can get creative.
No dotting tool? A toothpick or the end of a bobby pin will do the trick in a pinch.
2. Striping Tape
This thin little tape is amazing for making clean lines, geometric patterns, or cool color-blocked looks. It’s a game changer when you want your nails to look extra sharp.
Tip: Stick it on dry polish and peel it off before your top coat dries for the cleanest finish.
3. Nail Art Brushes
A good set of fine-tip brushes can really open up your design possibilities. Use them for lines, swirls, tiny flowers—whatever you feel like trying.
Pro tip: Start with just one or two brushes to get comfortable, then add more as you go.
4. Nail Stickers or Decals
When you’re not quite ready to paint detailed designs yourself, stickers are your best friend. They’re quick, easy, and still give that “wow” factor.
Bonus: They’re perfect for adding a fun accent nail with minimal effort.
5. Top Coat
Never skip this step! A good top coat will protect your design, prevent chips, and give your nails that salon-quality finish.
Hot tip: Let your nail art dry completely before applying your top coat to avoid smudging.
Easy Nail Art Techniques to Try
Once you’ve got your tools, it’s time to play! Here are a few super beginner-friendly techniques to start with.
1. Polka Dots
This one’s classic—and so easy. Just dip your dotting tool (or bobby pin) into polish and gently press onto your nail. Mix up the sizes and colors for fun designs!
2. Stripes
Use striping tape or a thin brush to add clean lines across your nails. Try horizontal, vertical, or even crisscross patterns.
3. Gradient/Sponging
This one looks fancy but is actually super simple. Dab two or three colors onto a makeup sponge and press it onto your nails for a cool ombré effect.
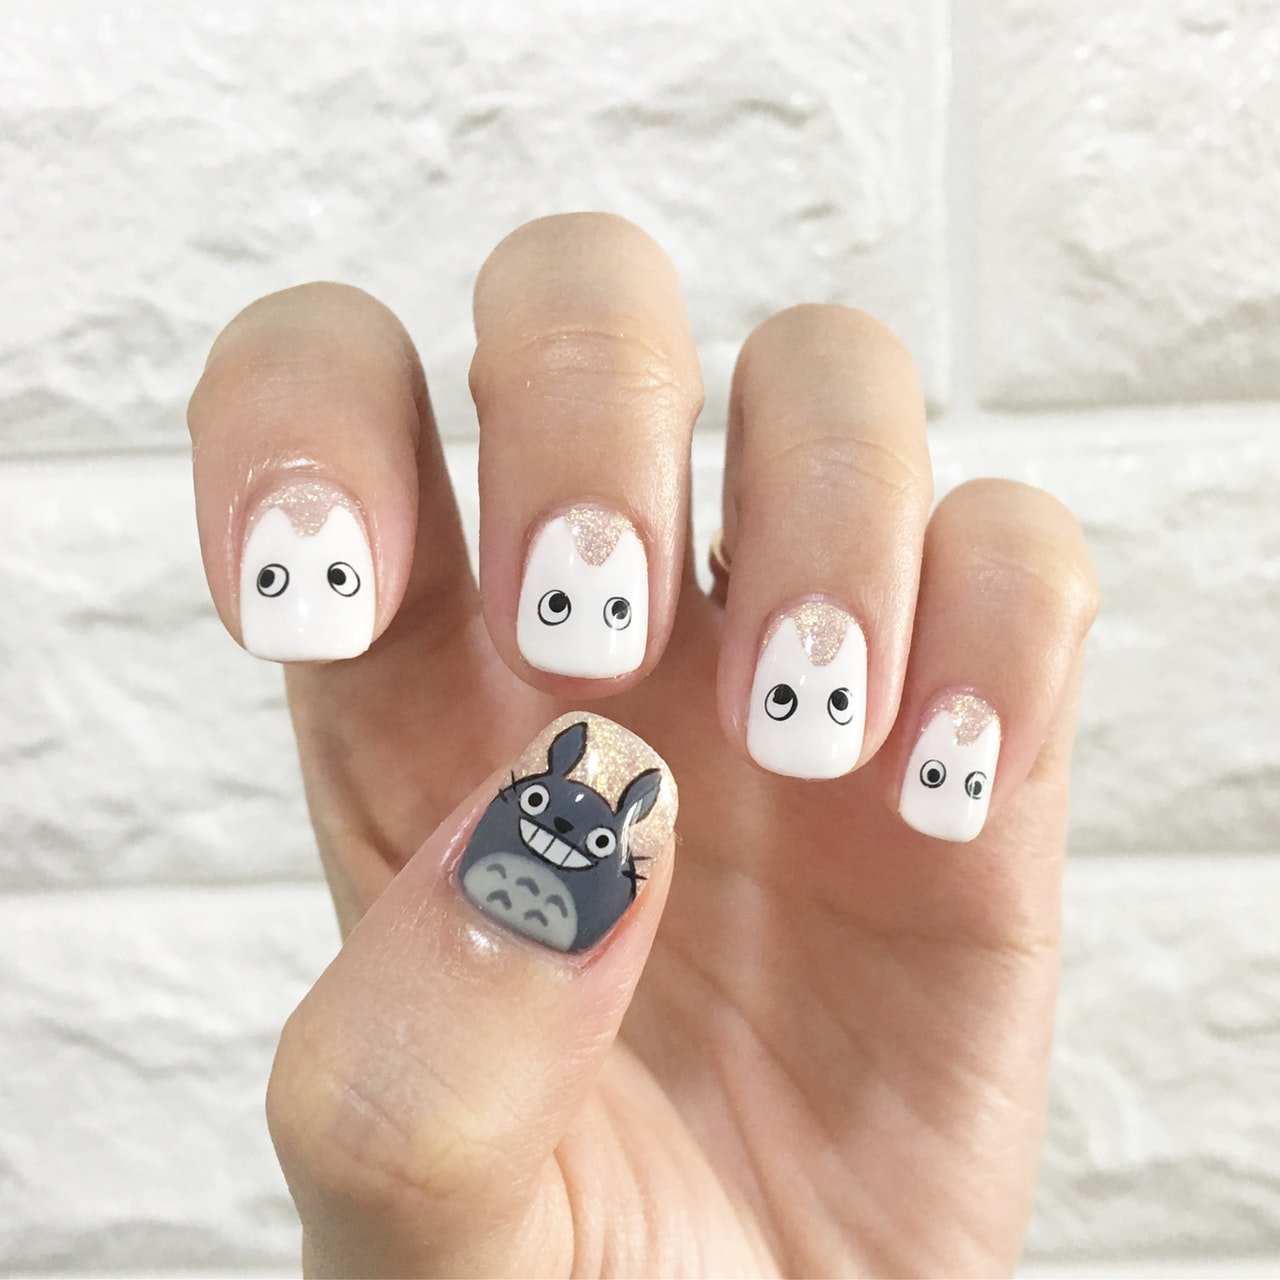
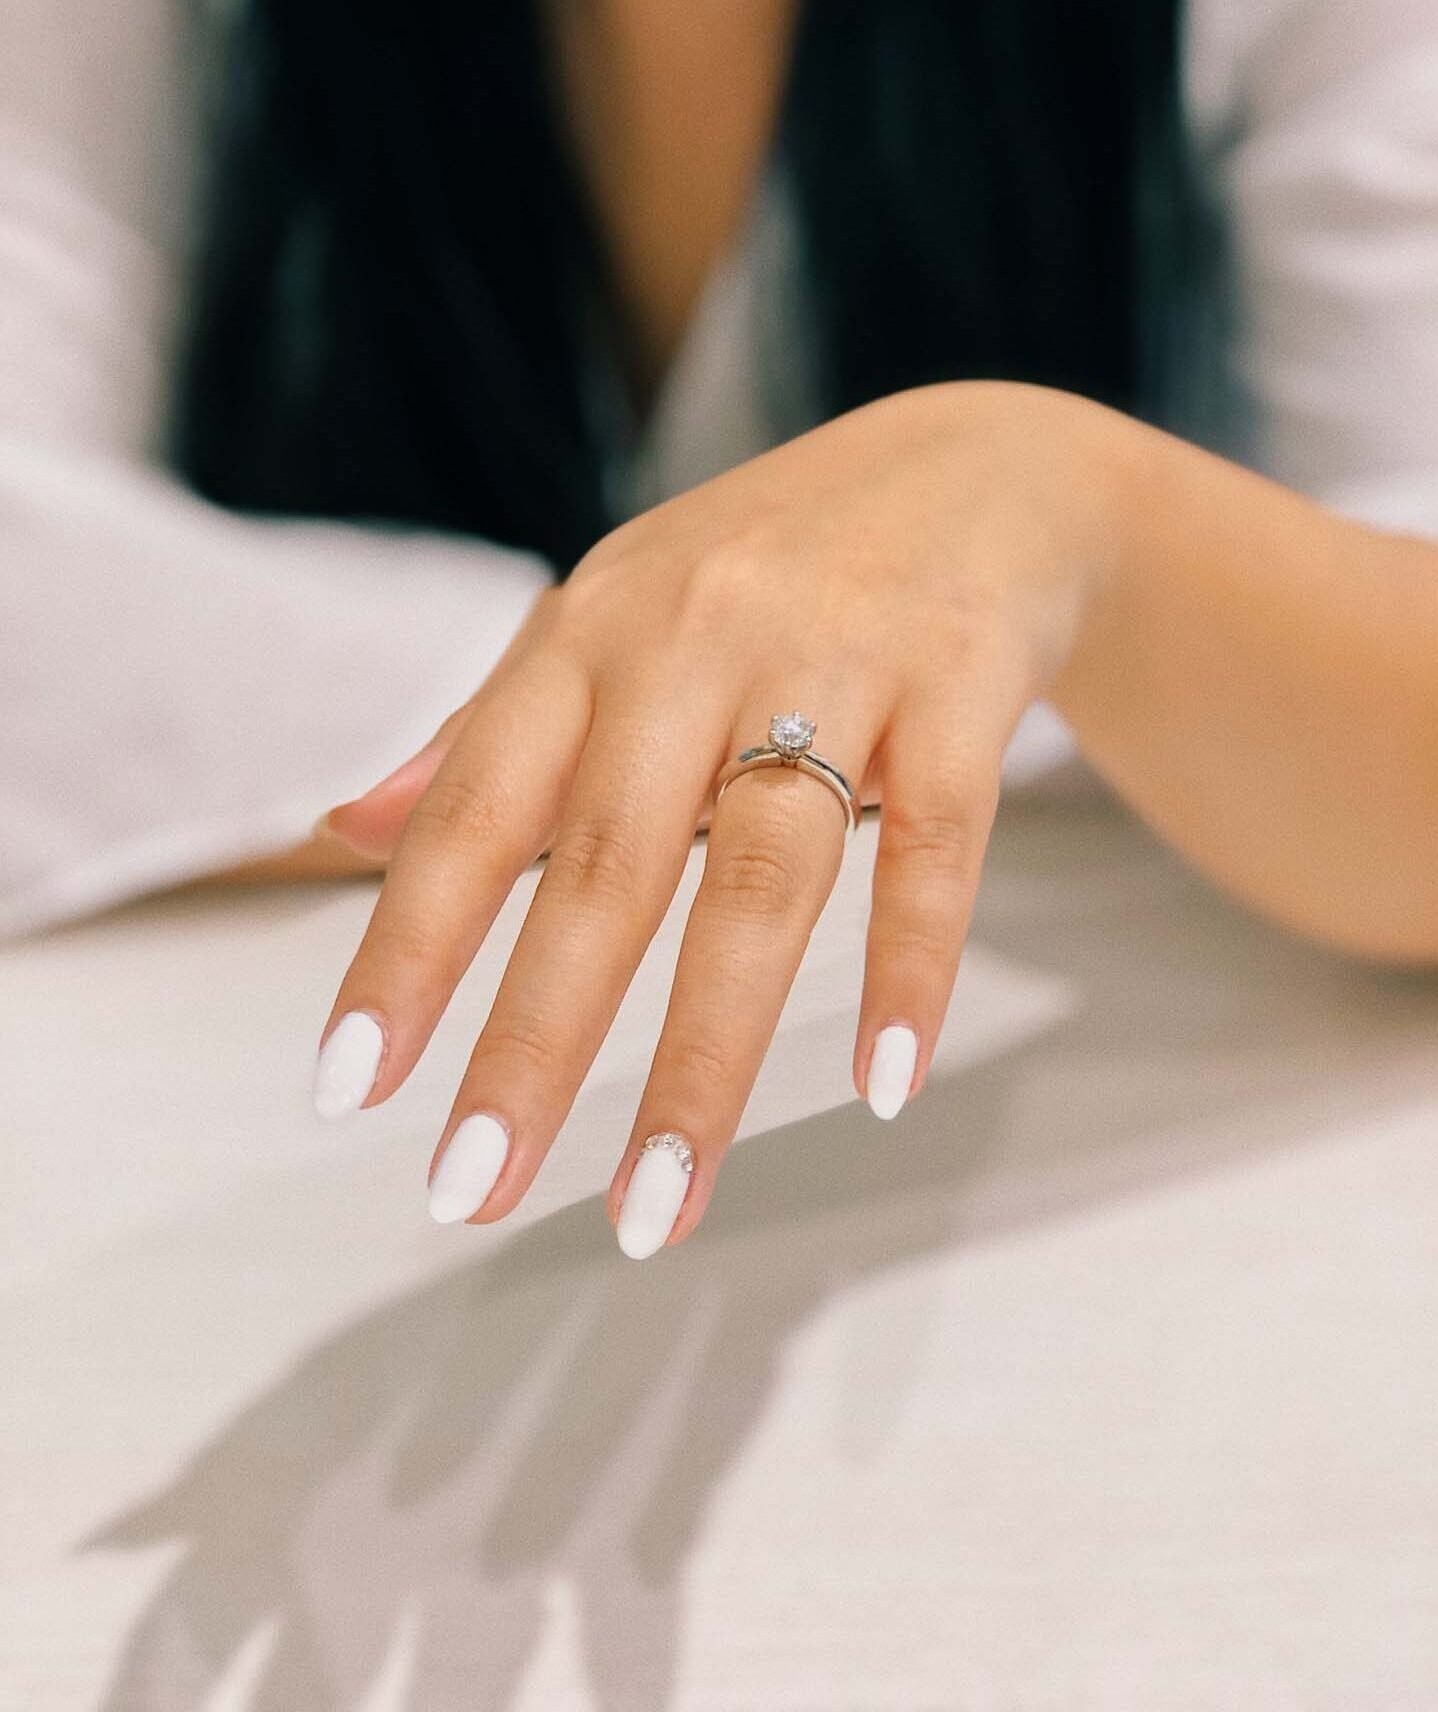
4. Accent Nail
If you’re not ready to do a full set of nail art, just do one nail (like your ring finger) in a fun design or color. It’s low-effort but high-impact.
5. French Tips (with a Twist)
Classic French tips are always in, but feel free to mix it up with bright colors or glitter. Use tape or a French tip guide to keep it neat.
Final Thoughts
Starting out with nail art for beginners doesn’t mean your designs have to be boring or basic. With just a few must-have nail art tools and some simple techniques, you’ll be surprised at how creative you can get right at home. The more you practice, the better you’ll get—and don’t worry about making mistakes. Half the fun is experimenting!
So go ahead—grab your polish, pick a design, and let your creativity shine. You’ve got this!