Love Nail Art but Don’t Know Where to Start? This Step-by-Step Guide Is for You!
Ever scrolled through Pinterest or Instagram and been mesmerized by beautiful Nail Art Designs? You’re not alone! It may look tricky, but the truth is, DIY Nail Art is totally doable—even if you’re a complete beginner. All you need is a little patience, a few tools, and a spark of creativity.
In this Step-by-Step Guide, we’re breaking down Beginner Nail Art ideas that are easy, fun and totally achievable at home. From cute dots to elegant gradients, you’ll be painting like a pro in no time.
Why Try DIY Nail Art?
DIY Nail Art is more than just a fun hobby—it’s an affordable, creative way to express yourself. Instead of spending hours and money at a salon, you can create stunning Nail Art Designs from the comfort of your home. Plus, it’s a great way to unwind and boost your mood.
What You’ll Need
Before diving into the Beginner Nail Art, make sure you have these essentials:
Base coat and top coat
Nail polish in a few fun colors
Dotting tools (or a bobby pin/toothpick)
Thin brush or striping tape
Nail polish remover and cotton swabs
1. Polka Dot Nails
Perfect for: A cute, easy starter look
Step-by-Step Guide:
- Apply your base coat.
- Paint a solid color.
- Use a dotting tool or toothpick to create dots with a contrasting shade.
- Add as many or as few as you like.
- Finish with a top coat.
Tip: Try white dots on pastel polish for a minimal, chic effect!
2. Striped Nails
Perfect for: A sleek and modern look
Step-by-Step Guide:
- Paint your base color and let it dry.
- Apply striping tape diagonally, vertically, or in fun patterns.
- Paint a second color over the tape.
- Remove the tape before it dries.
- Seal it with a top coat.
Beginner Nail Art doesn’t get much easier than this!
3. Ombre or Gradient Nails
Perfect for: A dreamy, salon-style finish
Step-by-Step Guide:
- Choose 2–3 coordinating polish colors.
- Apply them on a sponge in stripes.
- Dab the sponge onto your nails.
- Repeat until you get the desired look.
- Clean up the edges and finish with top coat.
This DIY Nail Art trick gives a pro-level effect with minimal effort.
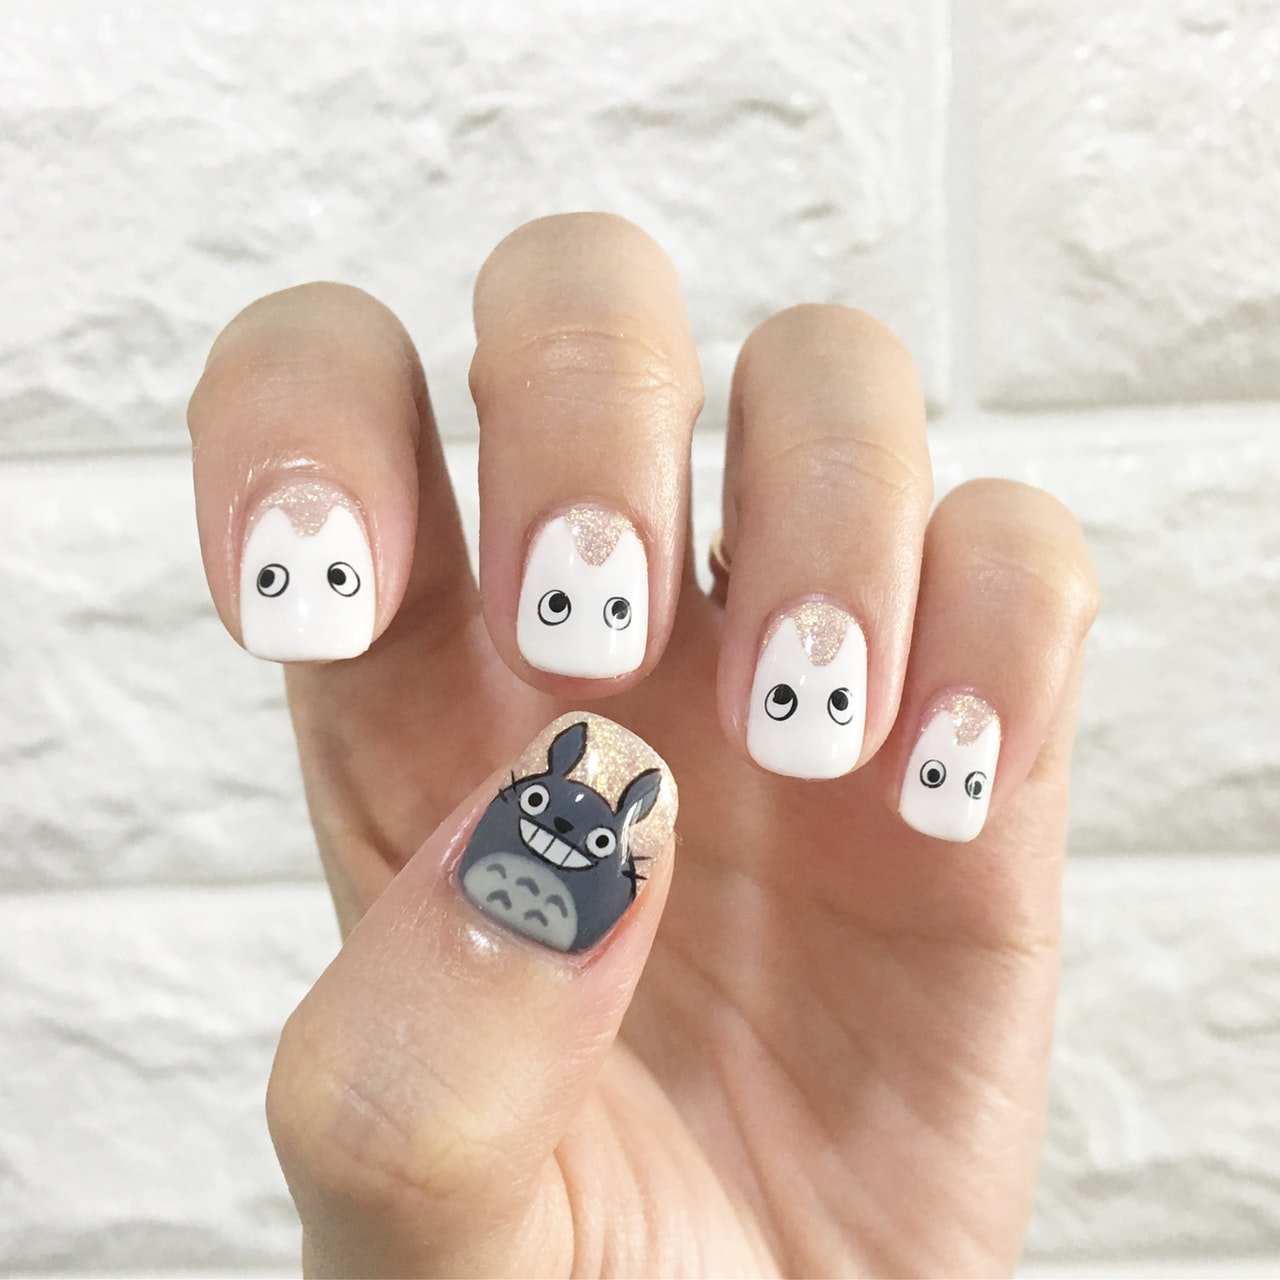
4. Glitter Accent Nail
Perfect for: A bit of sparkle without going all out
Step-by-Step Guide:
- Paint all nails with a base color.
- Apply glitter polish to your ring finger or another accent nail.
- Or sprinkle loose glitter on wet polish.
- Top it all off with a clear coat.
Beginner Nail Art that looks glam with zero fuss!
5. Floral Nail Art
Perfect for: A soft and feminine design
Step-by-Step Guide:
- Use a light color as your base.
- Create flower petals using dotting tools.
- Add a center dot in a different color.
- Draw stems or leaves with a fine brush if you want.
- Seal with top coat.
DIY Nail Art doesn’t get prettier than this!
6. Color Block Nails
Perfect for: Bold, artsy nails with clean lines
Step-by-Step Guide:
- Paint a base and let it dry.
- Use tape to section the nail into blocks.
- Fill each section with a different color.
- Remove tape before polish dries.
- Add a top coat.
This modern Nail Art Design looks advanced—but it’s super beginner-friendly.
7. Marble Nails
Perfect for: A sophisticated, swirled finish
Step-by-Step Guide:
- Drop different polishes into a cup of water.
- Swirl with a toothpick.
- Dip your nail in, clean around it, and remove.
- Let it dry and finish with a top coat.
One of the coolest DIY Nail Art looks out there—fun to do, too!
8. Heart Accent Nails
Perfect for: A romantic or cute vibe
Step-by-Step Guide:
- Paint all nails in a solid shade.
- Use a dotting tool to make two dots next to each other.
- Drag them into a point to make a heart.
- Add a heart on every nail or just one.
- Finish with a top coat.
Beginner Nail Art idea that’s perfect for Valentine’s Day—or any day you’re feeling sweet.
9. Matte & Glossy Combo
Perfect for: A classy twist using just top coats
Step-by-Step Guide:
- Paint nails with your favorite polish.
- Apply matte top coat over the entire nail.
- Use striping tape to design glossy sections (like stripes or French tips).
- Paint glossy top coat only over those areas.
- Peel the tape to reveal your design.
A unique, elegant Nail Art Design without needing tools.
10. Confetti Nails
Perfect for: A fun, party-ready manicure
Step-by-Step Guide:
- Use a nude or pastel base.
- Add colorful dots with different tools.
- Scatter them randomly for a confetti effect.
- Finish with a top coat.
This cheerful DIY Nail Art design brings joy to your fingertips!
Final Thoughts
Trying Beginner Nail Art doesn’t have to be intimidating. With this Step-by-Step Guide, you’ll find that creating your own Nail Art Designs can be simple, fun and super rewarding. So grab your polish and start experimenting—your dream nails are just a few brushstrokes away.,